
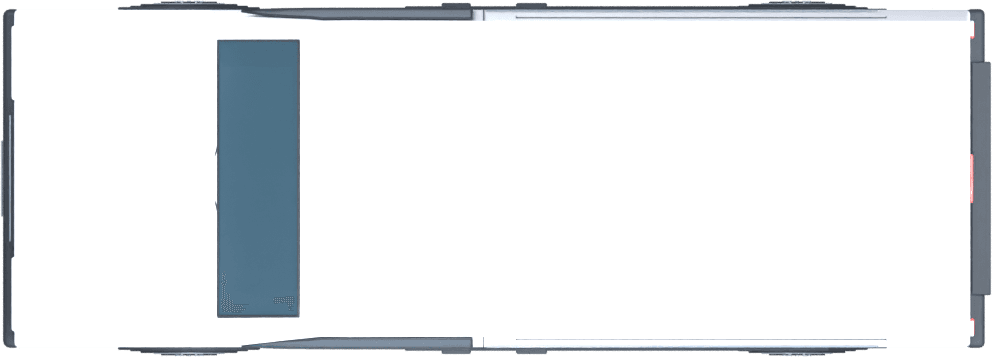
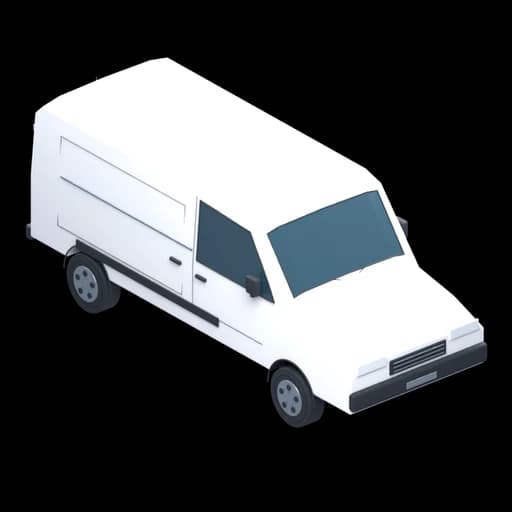
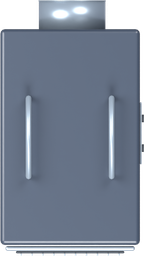
Panel Van (White)
Default model size: 2221 × 5730 × 2276 mm
Width × depth × height
From rooms and walls to airlocks, NPUs, signs and routes — AsbestoPlan gives asbestos teams a clean, fast workflow for visual planning.
Built around how asbestos teams actually work — from estimator to supervisor.
Draw rectangular or polygon rooms, connect walls and set their height, thickness and materials. Organise the building into storeys.
Choose flat, mono-pitch, gable, hip and specialist roof forms. Set pitch, direction, coverings and edge trims, then inspect the result in 3D.
Mark the work area with a coloured zone. Add walls and sheeting separately to represent its physical enclosure. Grass and road surfaces provide site context.
Choose chamber sizes and stages, with straight, left-turn and right-turn layouts for two- and three-stage units. Check the layout in 2D and 3D.
Apply room floor polythene and place sheeting with its own size, slope, colour and opacity to communicate the enclosure layout.
Drag library assets into the 2D plan or 3D scene, or click to place them in the active view. On touch screens, use the asset drag handle.
Coloured route lines that read clearly on any plan.
Temporary site fencing, warning signs, vacs, DCUs and welfare units.
Show wall lengths, room spans, area and perimeter. Labels update with the drawing; visibility controls let you show the detail you need.
One shared scene model. Move it in 2D and it updates in 3D — or use Split view to watch both at once.
Toggle building, zones, routes, signs and equipment layers per project.
Undo and redo edits during your session. Changes save automatically while connected; the save indicator confirms their status.
Cloud-saved projects with statuses, client/site details, thumbnails, notes and search. Paid subscriptions also support read-only snapshot links.
Export PNG/JPG from either view. Paid plans add clean high-resolution images, PDF and 2D SVG. Include an optional scene key and title block.
Move an item in the 2D plan and it updates in 3D. Move it in 3D and the 2D plan updates too. There is only one project — no duplicate models to maintain.
Clean enclosure plans with asbestos-specific symbols, dimensioned walls and snap-to-grid drawing.
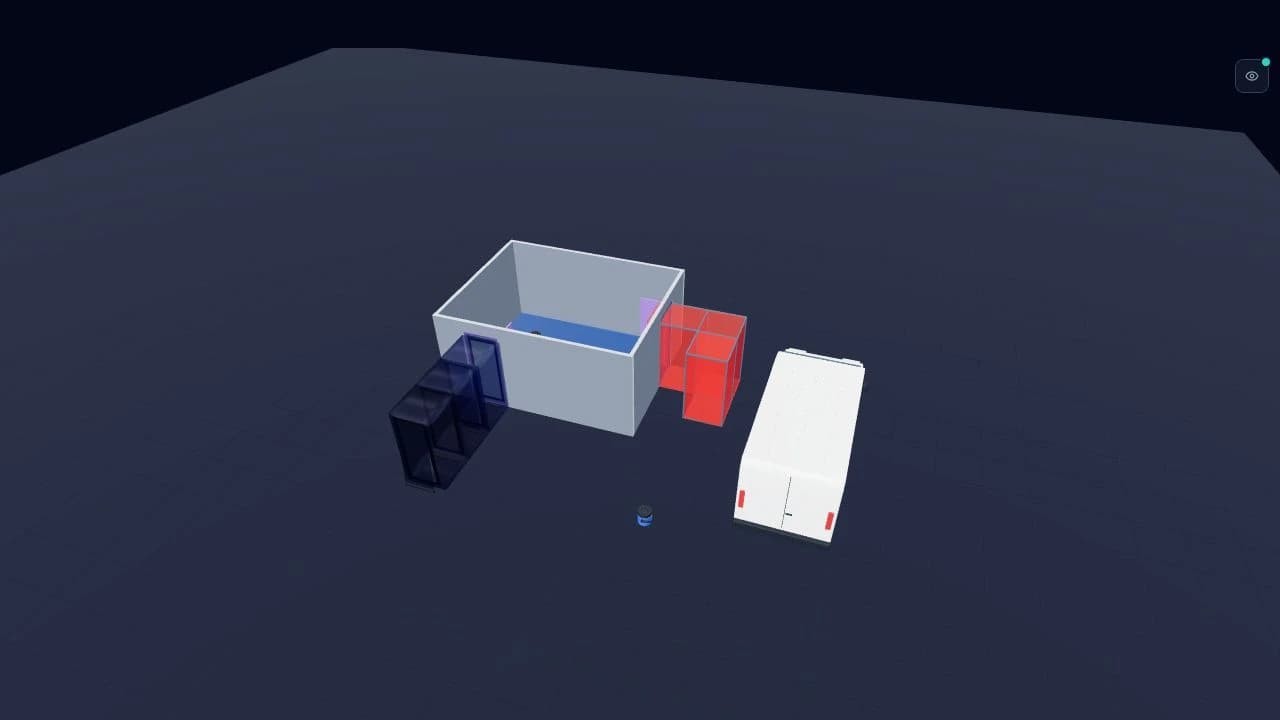
Generate 3D views of walls, enclosures, airlocks, baglocks, NPUs and site equipment.
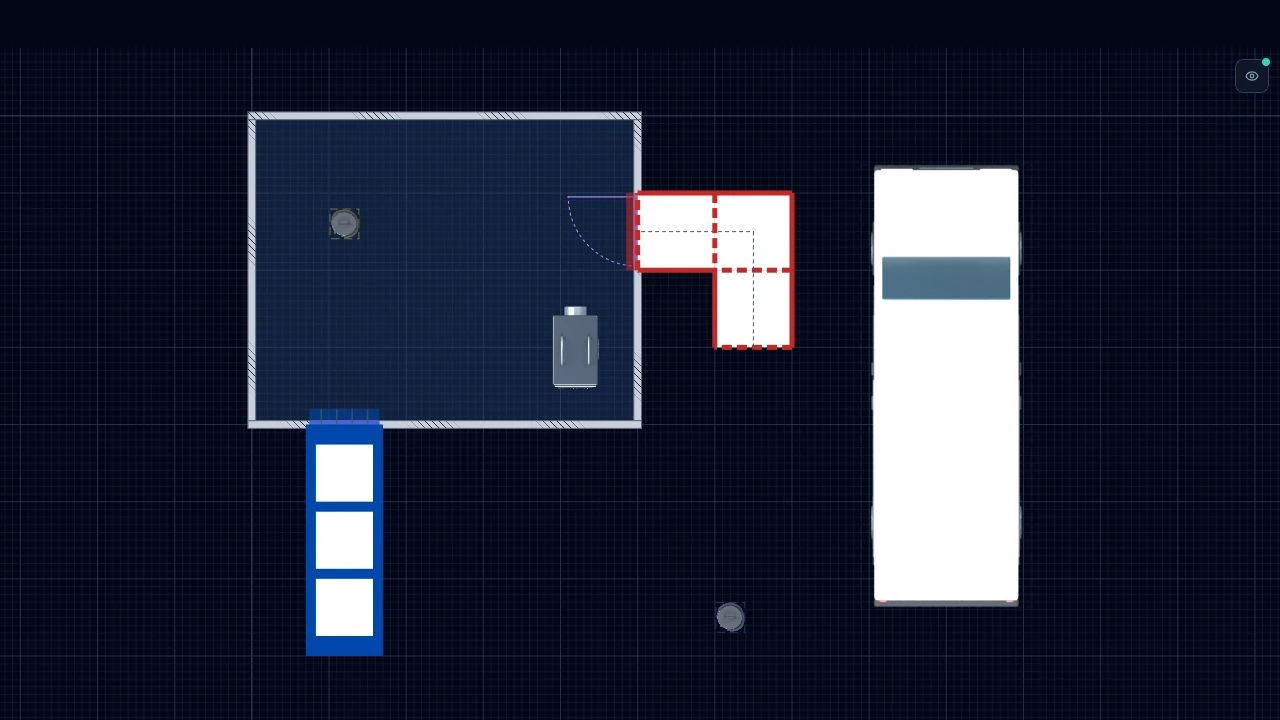
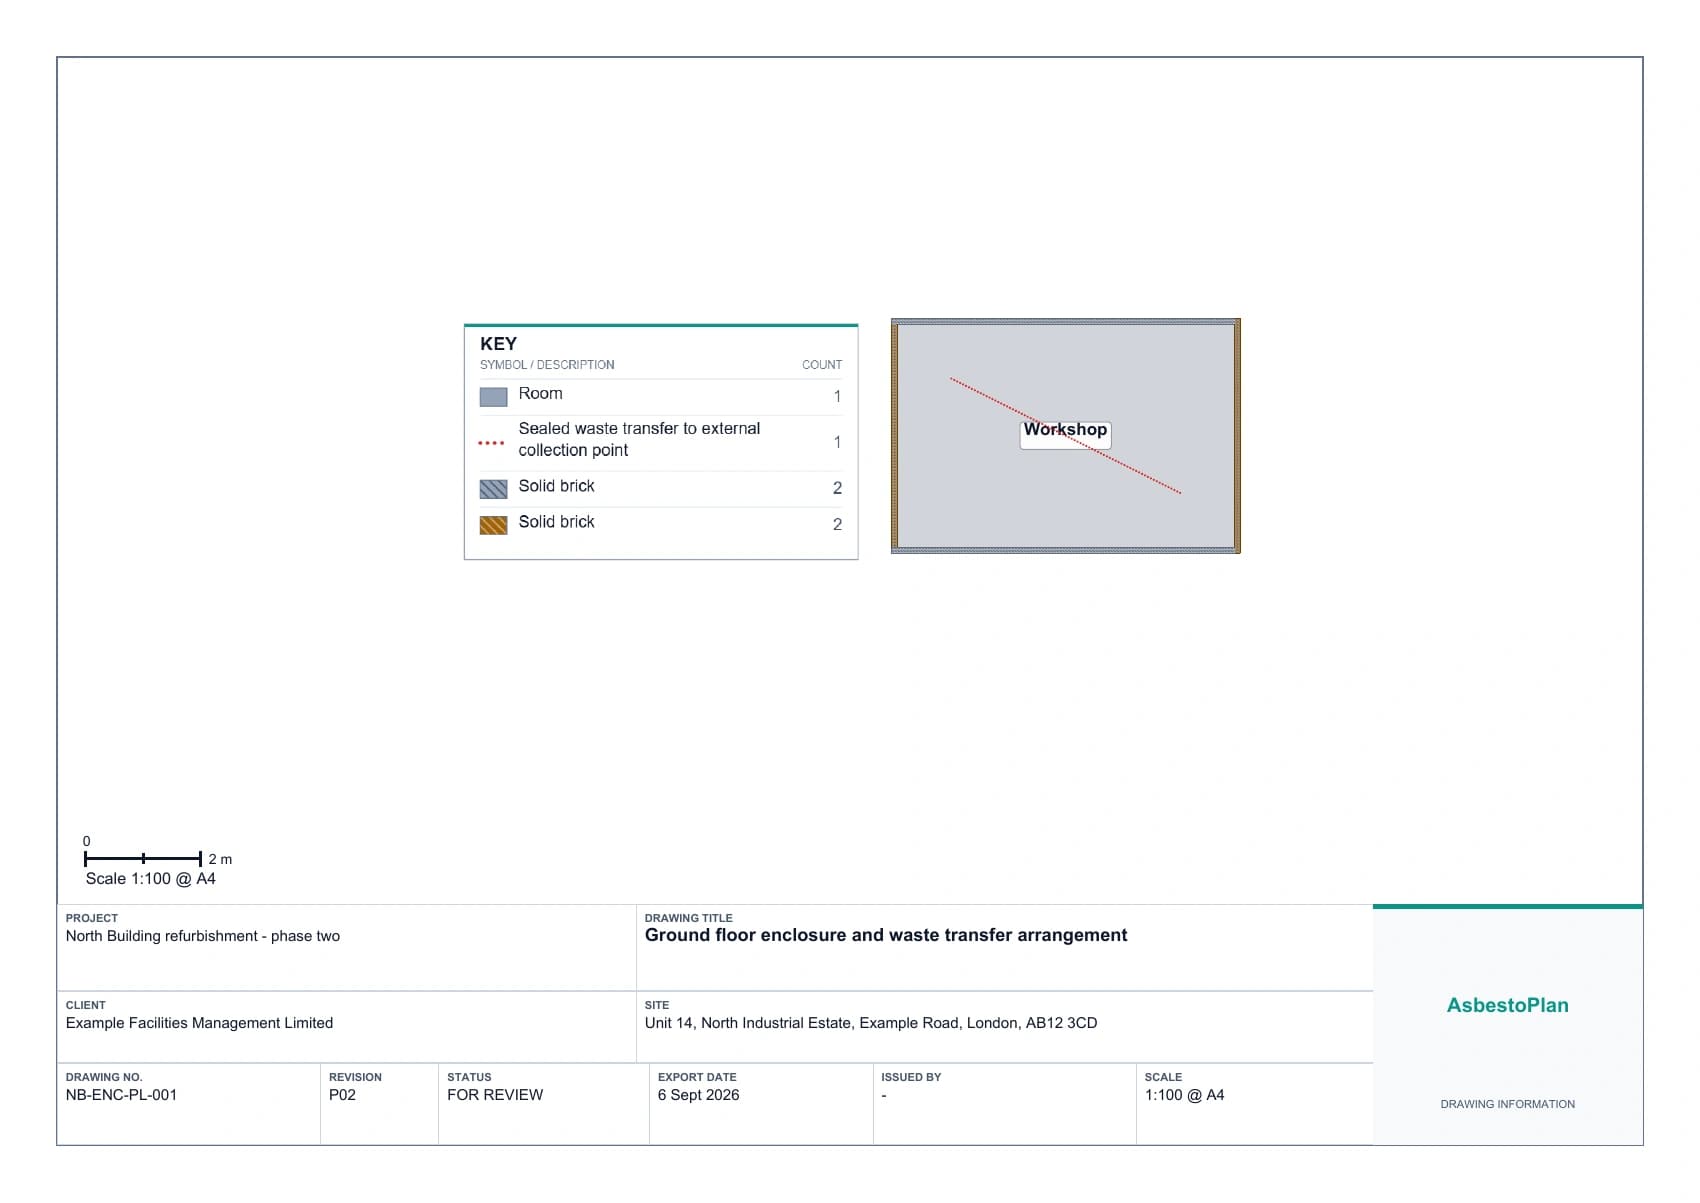
Export PNG/JPG on every plan. Paid plans add PDF and 2D SVG. Add a key and title block in separate sheet margins. The sample below is an exported drawing for a fictional project.
217 asbestos-specific 2D symbols across 15 categories — airlocks, baglocks, NPUs, DCUs, vacs, fencing, signs, skips and more. Many include a matching 3D model; drag any asset into the scene and switch between 2D and 3D thumbnails.
Generic planning assets: AsbestoPlan assets are generic visual planning symbols created to help communicate enclosure layouts, equipment positions, routes and site setup. They are not manufacturer-specific product drawings, approved safety signs, legal signage, equipment specifications, compliance certification, RAMS, plans of work or substitutes for competent professional judgement. Users must ensure all real-world equipment, signs, labels, controls and documentation meet current legal, project, company and manufacturer requirements. Read the full product disclaimer.
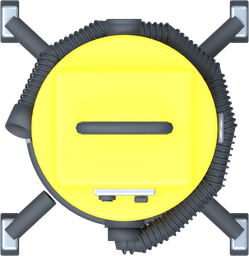
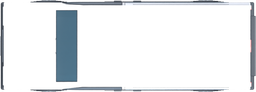
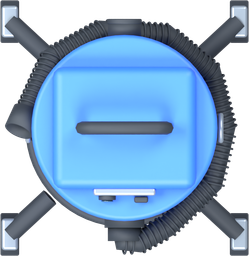
These previews use the current editor artwork. Generic, unbranded equipment includes panel vans, four NPU sizes, wet vacuums and Class H vacuums.
Default model size: 2221 × 5730 × 2276 mm
Width × depth × height
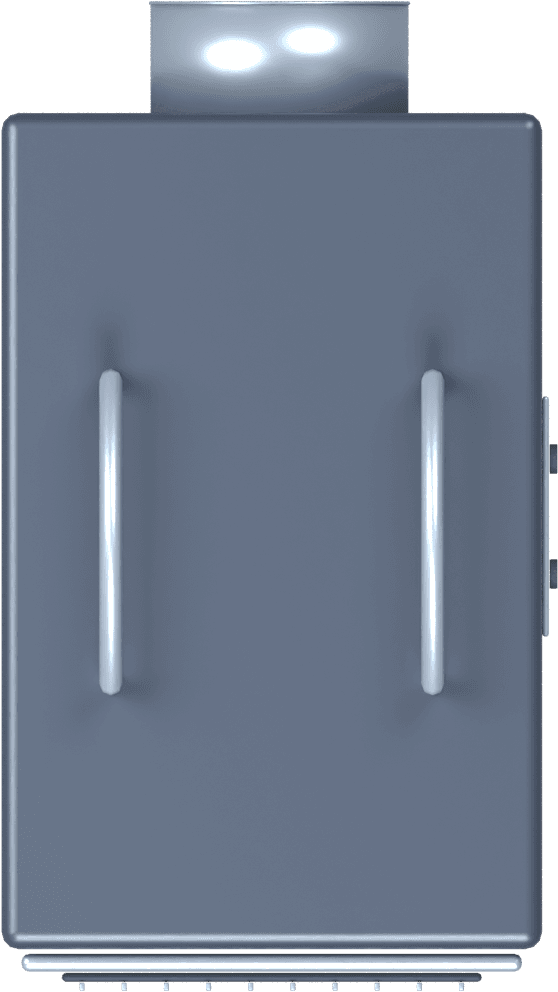
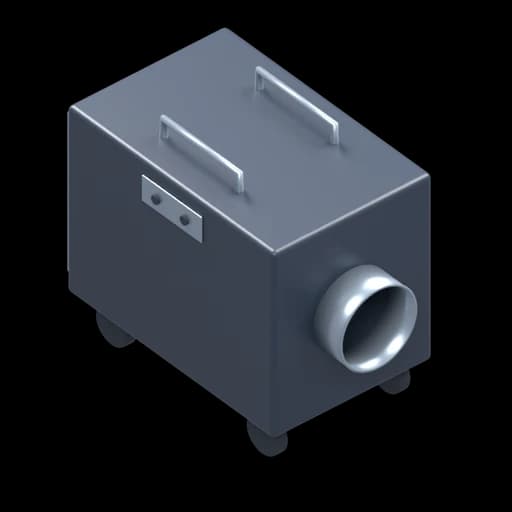
Default model size: 600 × 1068 × 856 mm
Width × depth × height
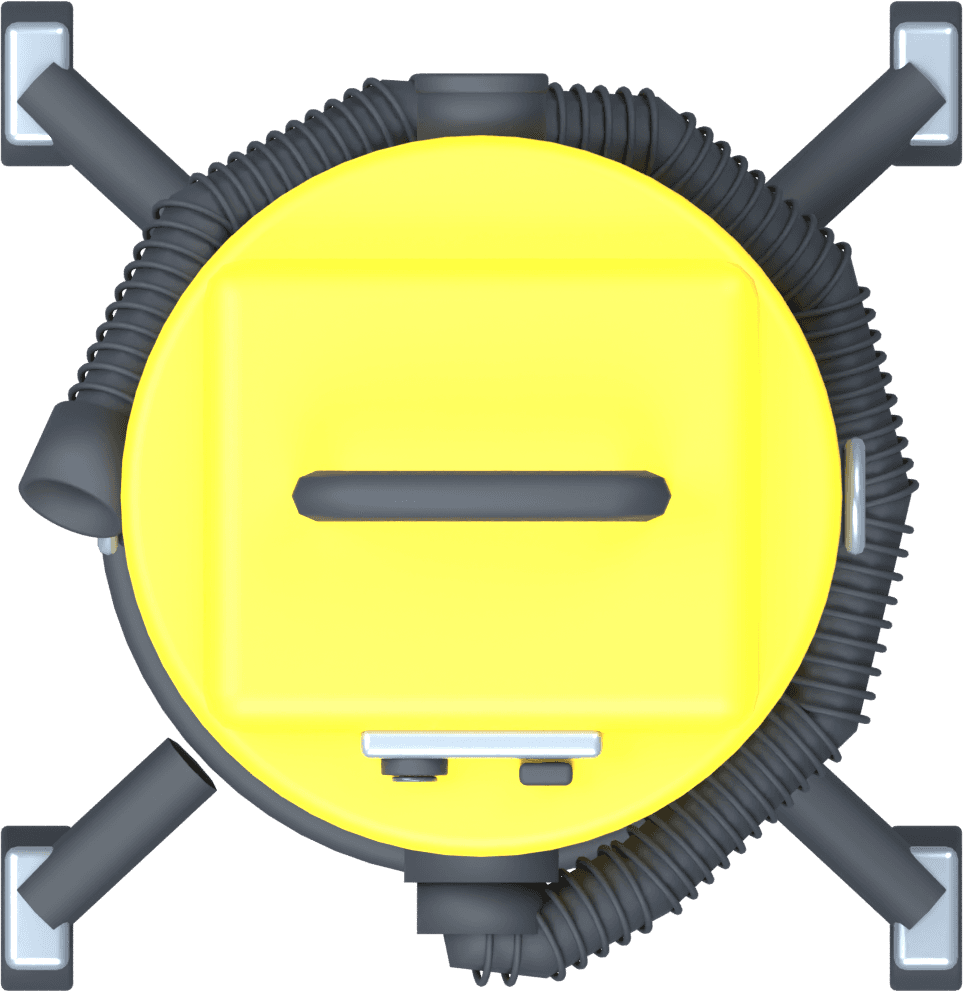

Default model size: 373 × 384 × 494 mm
Width × depth × height
Check the dimensions of the equipment intended for your site when setting out the plan. Browse the asset library.
On any paid plan, upload a floor-plan image and set its scale by resizing it or calibrating a known distance. Trace manually, or try assisted wall and opening detection (Preview) on clear plans with horizontal and vertical walls. Review suggested windows, door types and swings before creating editable geometry. The image can also appear beneath the 3D model as a reference.
Drop in a survey scan, an architect drawing or a quick site sketch — uploaded straight to your project.
Enter the floor plan width and height in mm, or calibrate against a known distance. Check your traced dimensions against the source drawing.
Fade the backdrop to a guideline, nudge it into place and rotate it to align with your grid.
Locking the backdrop prevents accidental drag while you trace your enclosure on top.
Change polythene, wall, zone and route colours in a few clicks. Each placed object stays independent — recolouring one item does not change the rest of the project.
Take your plan from the editor straight into project documents, client packs and site briefings.
Export the enclosure plan and the 3D view as PNG or JPG. PNG supports transparency; JPG uses a solid background. Free Preview exports carry a watermark.
Paid plans remove the watermark and export both views at high resolution for crisp printing and client communication.
Export 2D plans as SVG or scale-accurate PDF. The 3D view is a rendered image. Available with the One Project Pass and every subscription.
Add a key in its own margin and a title-block footer with project, drawing number, revision, status, client, site, date and scale. Company logos require a paid plan.
A composed report with project details, plan, render, legend, notes and an auto item schedule.