
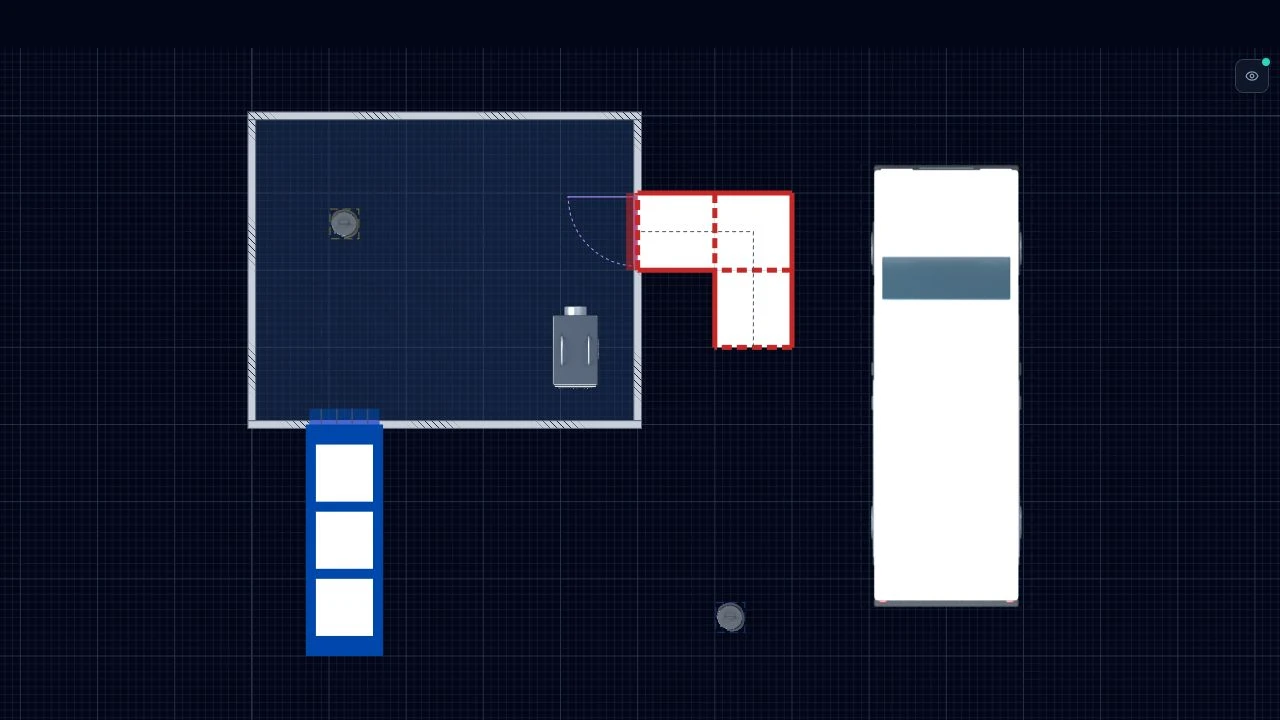
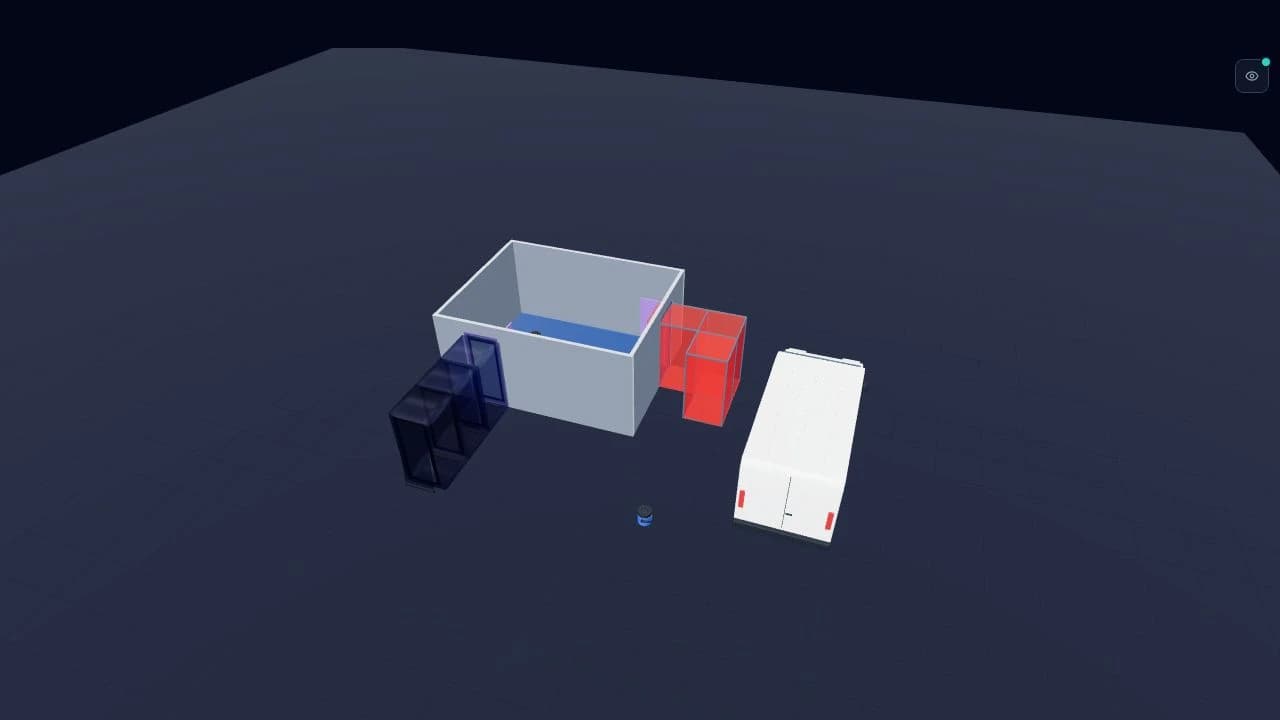
What the 3D view helps you check
A plan is useful for locating equipment and reading dimensions. A 3D view adds a different perspective: you can orbit the room, inspect the arrangement of airlocks and baglocks, and see how the modelled enclosure sits within its surroundings.
Use the two views together during a drawing review. If an item looks out of place, select it and check its dimensions, rotation and position against the site information. A convincing picture is only as accurate as the information entered.
From a room outline to a briefing visual
Start with Room or Polygon in Structure and set the wall construction and thickness. Add the work zone, then model sheeting where needed. Place generic airlocks, baglocks, NPUs, signs and other equipment from the library.
Switch to 3D or use Split to compare the plan and model. Both views use the same project data, so an equipment change does not require rebuilding a separate illustration. Files already exported do need to be exported again after a revision.
- Check wall and equipment dimensions against measurements.
- Inspect the model from more than one angle so foreground items do not hide details.
- Keep labels and the drawing key readable in the final file.
- Record the drawing title, number and revision before sharing.
Export the view your audience needs
Use a 2D plan for the layout attachment and a 3D visual when explaining the arrangement at a briefing. Preview the export, inspect the title block and key, and download each view separately when exporting both.
Free Preview includes watermarked PNG/JPG exports. Paid plans add clean exports and PDF/SVG options. Numeric print scale applies to a 2D PDF; a perspective 3D view is not a scale drawing. See the sample export pack before choosing your output.
What the model does and does not establish
The 3D model represents the geometry and equipment you enter. It does not measure site conditions, prove an airtight seal or simulate pressure. Equipment shown in a drawing still needs a competent, site-specific design and review.
AsbestoPlan supports enclosure drawings and visual communication. It does not replace the written plan of work, survey information, risk assessment or professional judgement. Try one representative layout in Free Preview to assess how it fits your existing workflow.
Common questions
- Do I need to draw the enclosure twice?
- No. The 2D and 3D views use one project model. Re-export any previously downloaded files after changing that model.
- Can I try the 3D view before paying?
- Yes. Free Preview lets you create drawings and inspect them in 2D and 3D, with watermarked PNG/JPG exports.
- Is a 3D enclosure visual a scale drawing?
- No. Use a numeric-scale 2D PDF on a paid plan when you need print scale, and print at actual size. Use the 3D view to communicate the arrangement.
Related
AsbestoPlan is a planning and communication tool — not HSE-approved or compliance certified. Final enclosure design and statutory duties remain with competent asbestos professionals.