
Practise with the same floor plan as the tutorial
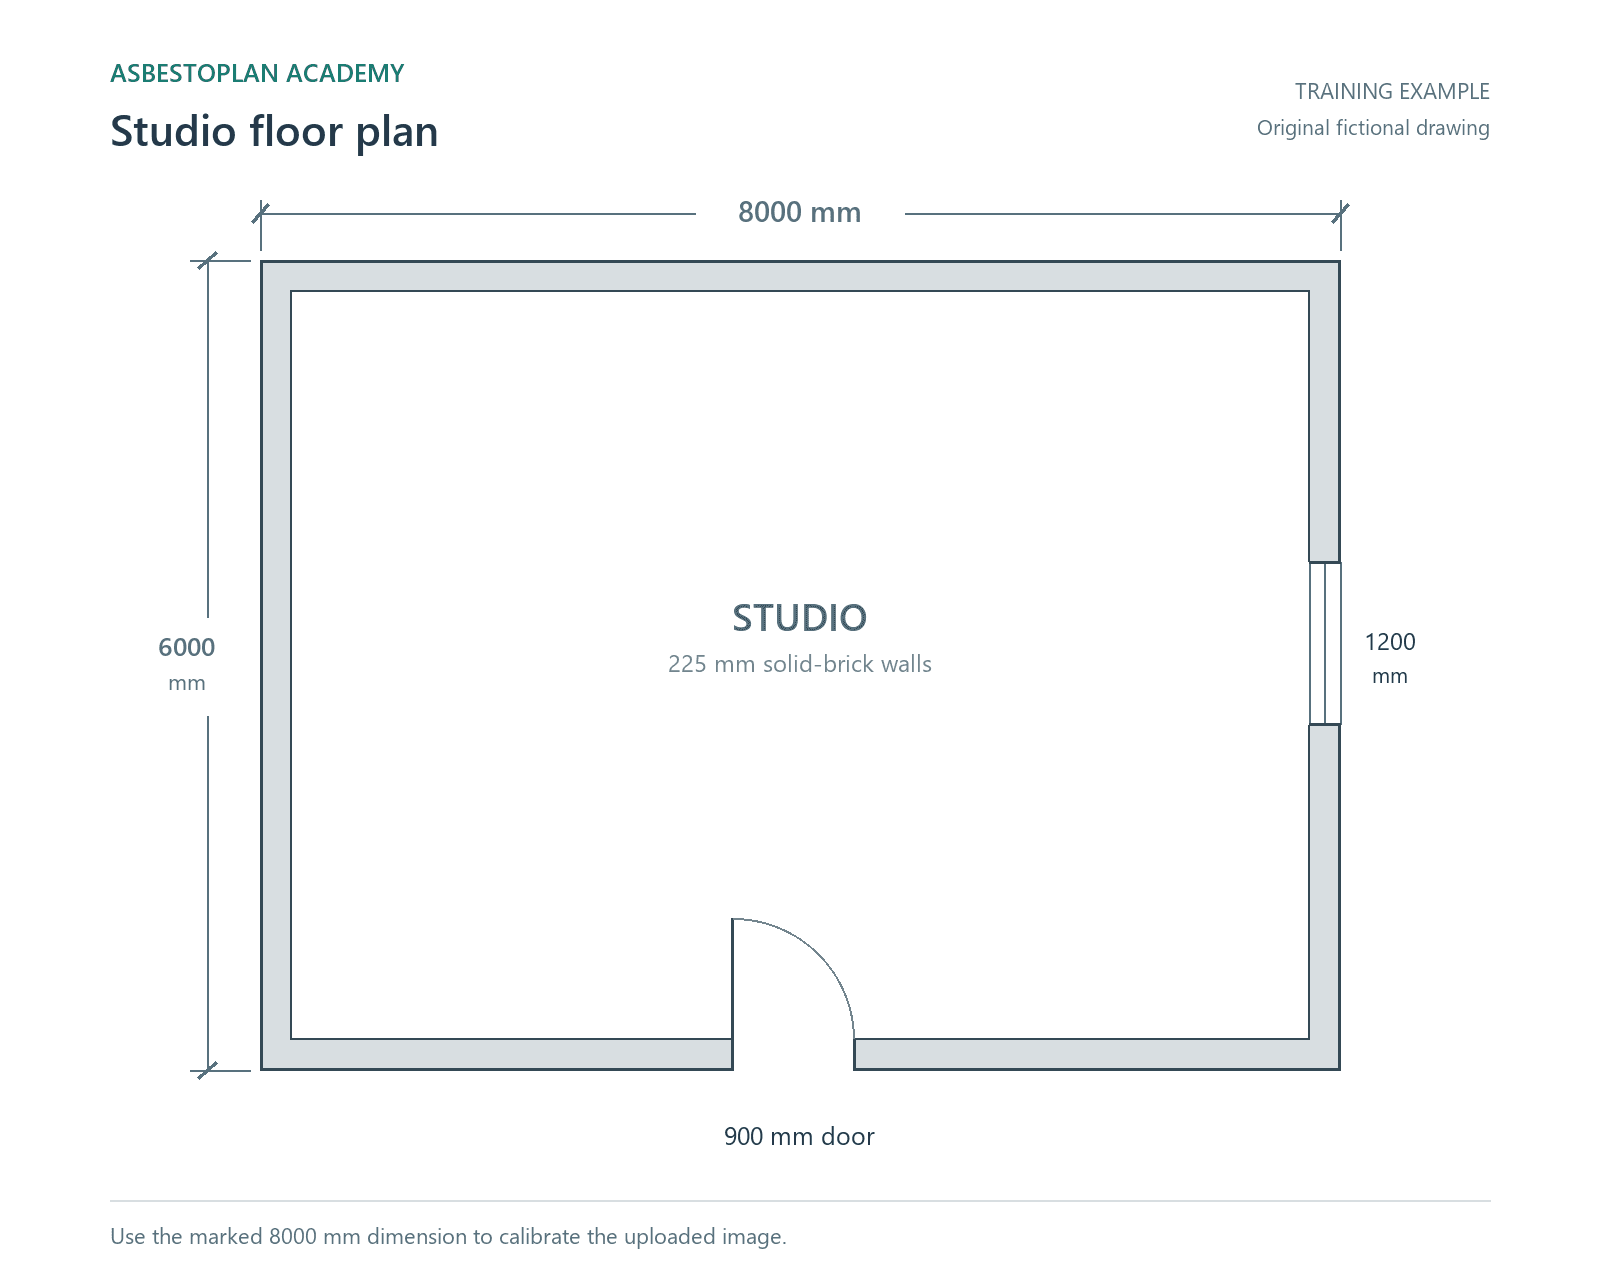
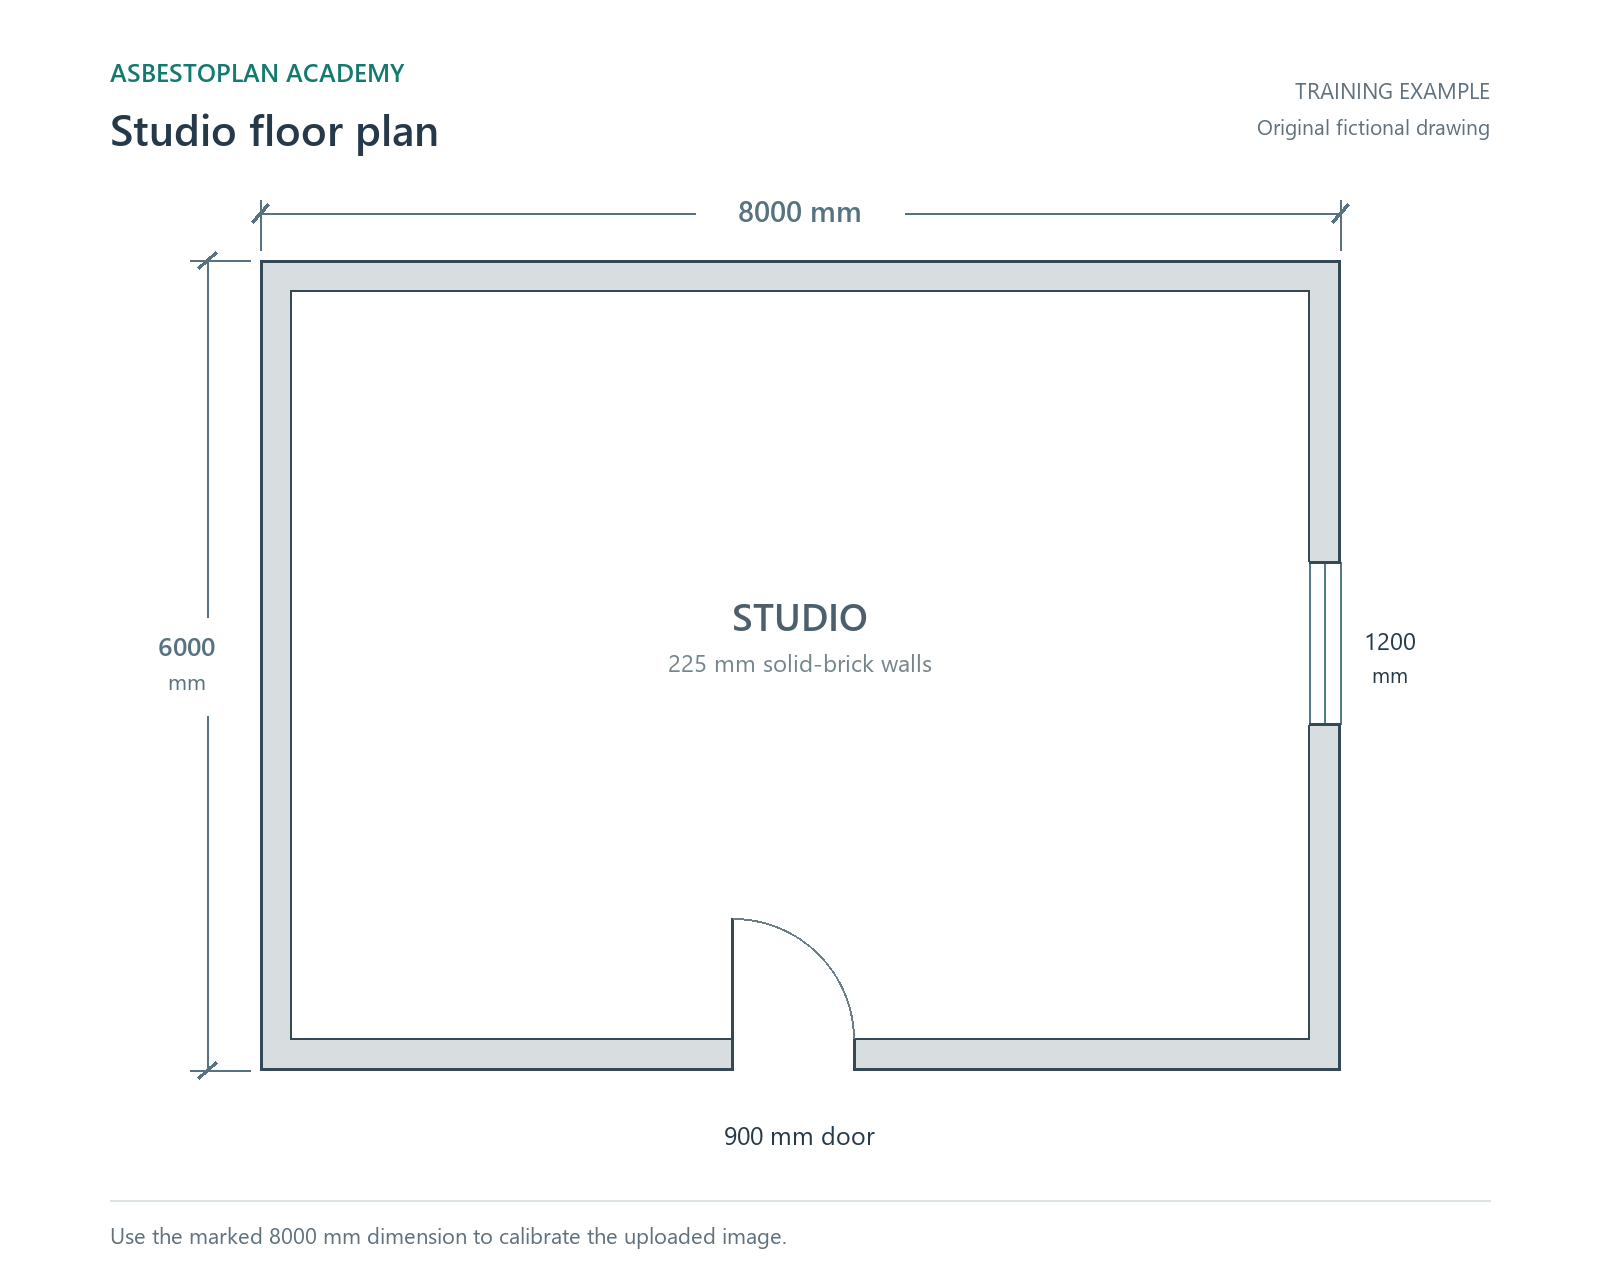
The fictional Academy studio image above is the resource used in our tracing tutorial. Open it to inspect the reference drawing, then follow the video with the same file. Use it for learning the controls, not as a layout for a real job.
Set the image scale before tracing
Upload a PNG, JPG or WebP floor-plan image using the backdrop controls. If you know the real-world width and height of the entire image, including its margins, enter those dimensions in Floorplan size and scale. Keep proportions on to avoid stretching the drawing.
If you know a distance within the drawing instead, use the optional two-point calibration. Select the two corresponding points and enter the known distance. Check another dimension before continuing; cropping, scanning distortion and unclear dimension lines can make an apparently plausible scale wrong.
Trace an editable layout
Position the backdrop, lower its opacity until your new lines are clear, and lock it to prevent accidental moves. Use Structure tools to draw the room or walls, then add the modelled enclosure elements and planning assets required for your arrangement.
Check wall faces, openings and room dimensions against the source information. A drawn wall and an image line are different objects: moving one does not correct the other. Review the 2D plan and matching 3D view before using the drawing in your document pack.
- Keep the image available while checking the traced geometry.
- Review dimensions rather than relying on the image fitting the screen.
- Use the floor-plan scale troubleshooting guide if a known measurement does not agree.
Review the final export
Open Preview export and check the backdrop visibility, model dimensions, title block and drawing key. For a measured printed plan, use a numeric-scale 2D PDF and print at actual size (100%). Resizing the finished file inside another document can change its printed scale.
Backdrop upload is available on the One Project Pass, Business, Team and Company plans. Free Preview lets you try the drawing tools without an upload. Detection tools are a separate workflow; review any suggested geometry before accepting it.
Common questions
- Can I trace a floor-plan image in Free Preview?
- Backdrop uploads require a paid plan. You can practise the drawing tools in Free Preview or watch the public tracing tutorial before deciding.
- Does calibration prove the source drawing is accurate?
- No. It sets a relationship between image distance and model distance. Check it against reliable site information and another known measurement.
- Do I have to use automatic detection?
- No. You can manually trace the image with the drawing tools. Detection is a separate aid and its results need review.
Related
AsbestoPlan is a planning and communication tool — not HSE-approved or compliance certified. Final enclosure design and statutory duties remain with competent asbestos professionals.