
By AsbestoPlan · Published 2026-06-16 · Updated 2026-09-14 · Planning support only — not compliance advice
Step 1: Room and enclosure shell
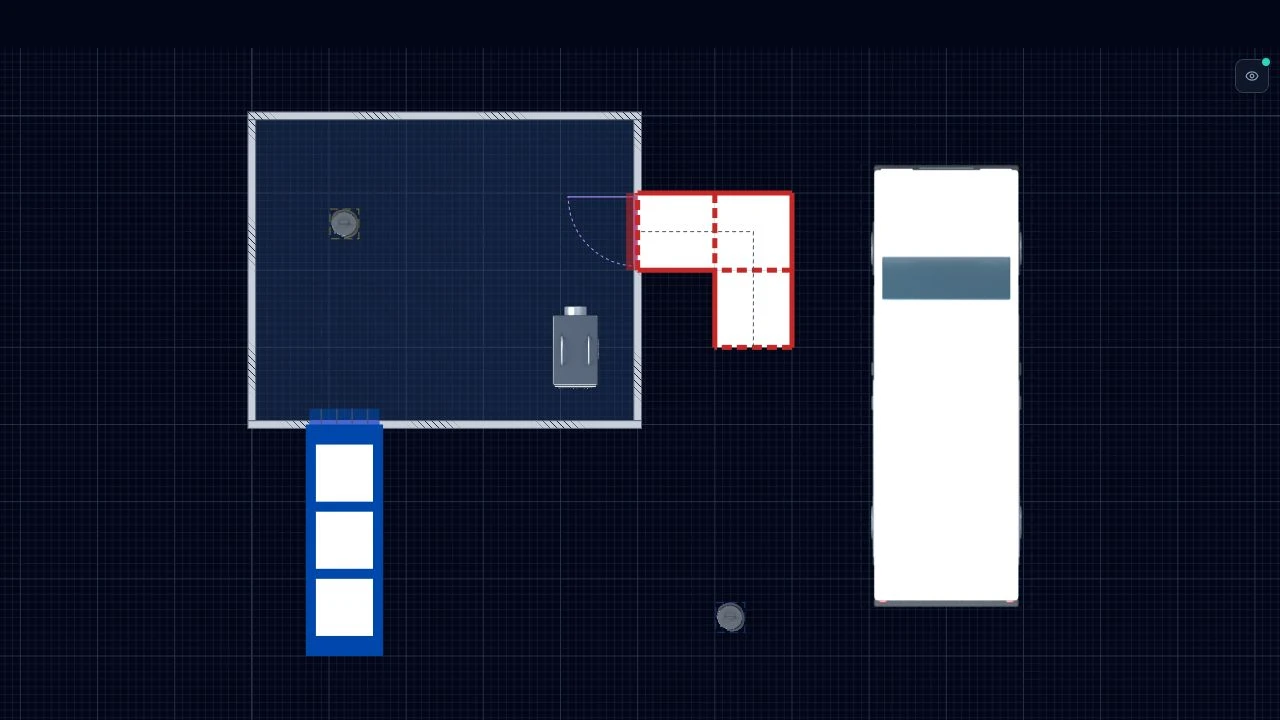
Choose Structure → Room or Polygon, set the construction and thickness under Room walls, then draw the outline. Enclosure → Zone marks the work area; Enclosure → Sheeting adds the film separately. Paid plans can upload a floorplan underlay and review detected walls and doors at its current scale.
Before adding equipment, compare the modelled dimensions with your source information. Room measurements use inside wall faces; standalone wall lengths use their centreline. An image underlay needs a checked scale, and detection suggestions need review. Do not treat a source drawing or automatic detection as a site measurement.
Step 2: Assets and routes
Place an airlock, baglock and NPU from Assets. Select each item to set its dimensions, rotation and position. In a real drawing, use the arrangement defined by the site-specific design rather than copying the example positions.
Add decontamination and waste routes and appropriate signs. Follow each route visually from start to finish, checking that its labels and endpoints are understandable. Keep the same names in the drawing and supporting documents.
Step 3: 3D check
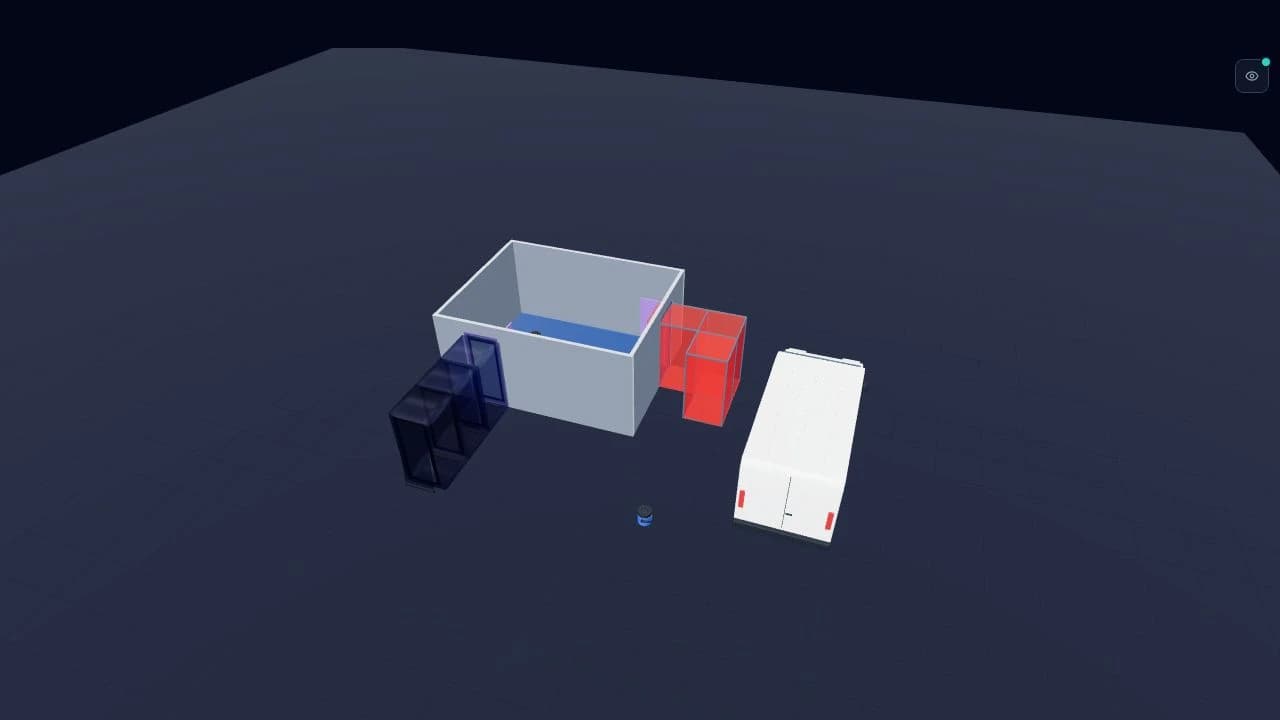
Switch to 3D and orbit the layout, or use Split to compare it with the plan. Inspect the model from several directions so an item in the foreground does not hide an opening or another asset.
Check modelled heights, positions and orientations against the information you entered. If you make a change, review both views again. This is a visual review of the model, not a pressure simulation or verification of site clearances.
Step 4: Export
Set the drawing number, title and revision in Project → Drawing identification. Check client and site details, then export with the title block and key enabled. Use a numeric 2D PDF scale on a paid plan when you need print scale; PNG/JPG and fit-to-page output are not to scale. Use Issue revision to save a frozen drawing record.
Select Preview export and inspect the generated file before downloading. Check that labels are readable, no important part of the drawing is clipped, and the key describes the objects you intended to show. When exporting both views, review and download each file separately.
For a printed scale check, use the separate workshop PDF linked above and print at 100%, without fitting it to the page. The sample shows the export format; it should not be reused as a design for another site.
Step 5: Review the issued pack after a change
Moving equipment in the editor updates the project model but cannot update files already attached to a document or sent to a colleague. Export fresh files, check the revision and replace the previous attachments in your pack.
Ask the reviewer to compare the drawing with the written scope and site information. Record any unresolved dimensions or design decisions in your normal review process before issuing the drawing for use.
Further reading and examples
Was this helpful?
Your feedback helps us improve these instructions.
Try it on a real layout
Recreate a layout with the drawing tools. Free Preview includes 2 saved projects and watermarked PNG/JPG exports. Floor-plan uploads require a paid plan.
Start freeFor step-by-step editor demonstrations, browse the video tutorials.